Beer can chicken is one of those legendary grilling recipes that never gets old.
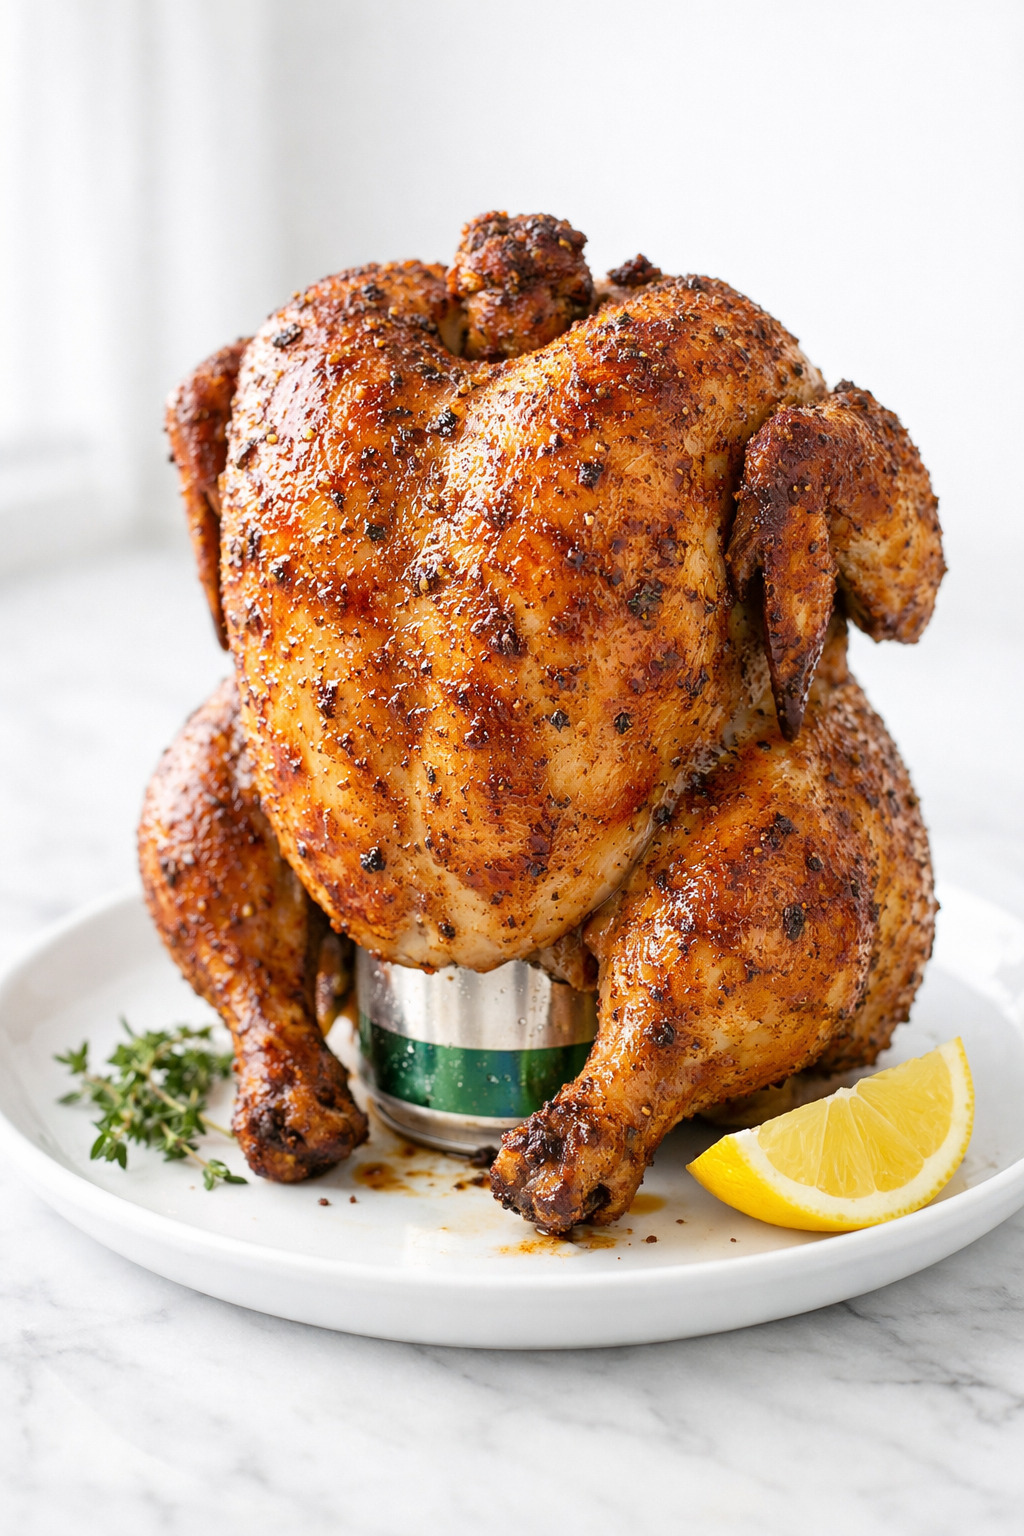
A whole chicken perched on top of a beer can, slowly roasting until the skin turns impossibly crispy and the meat stays unbelievably juicy. It sounds a little wild, but trust me, it works like a charm.
The beer steams up inside the cavity, keeping every last bite moist and tender while the dry rub on the outside creates a flavor-packed crust that’s out of this world.
Whether you’re firing up the grill for a weekend cookout or looking for a show-stopping main dish that practically cooks itself, this beer can chicken is the way to go.
It’s super easy, requires minimal hands-on time, and the results are honestly restaurant-quality. Your family is going to love this one!
Why You’ll Love This Beer Can Chicken
The flavor on this chicken is absolutely phenomenal.
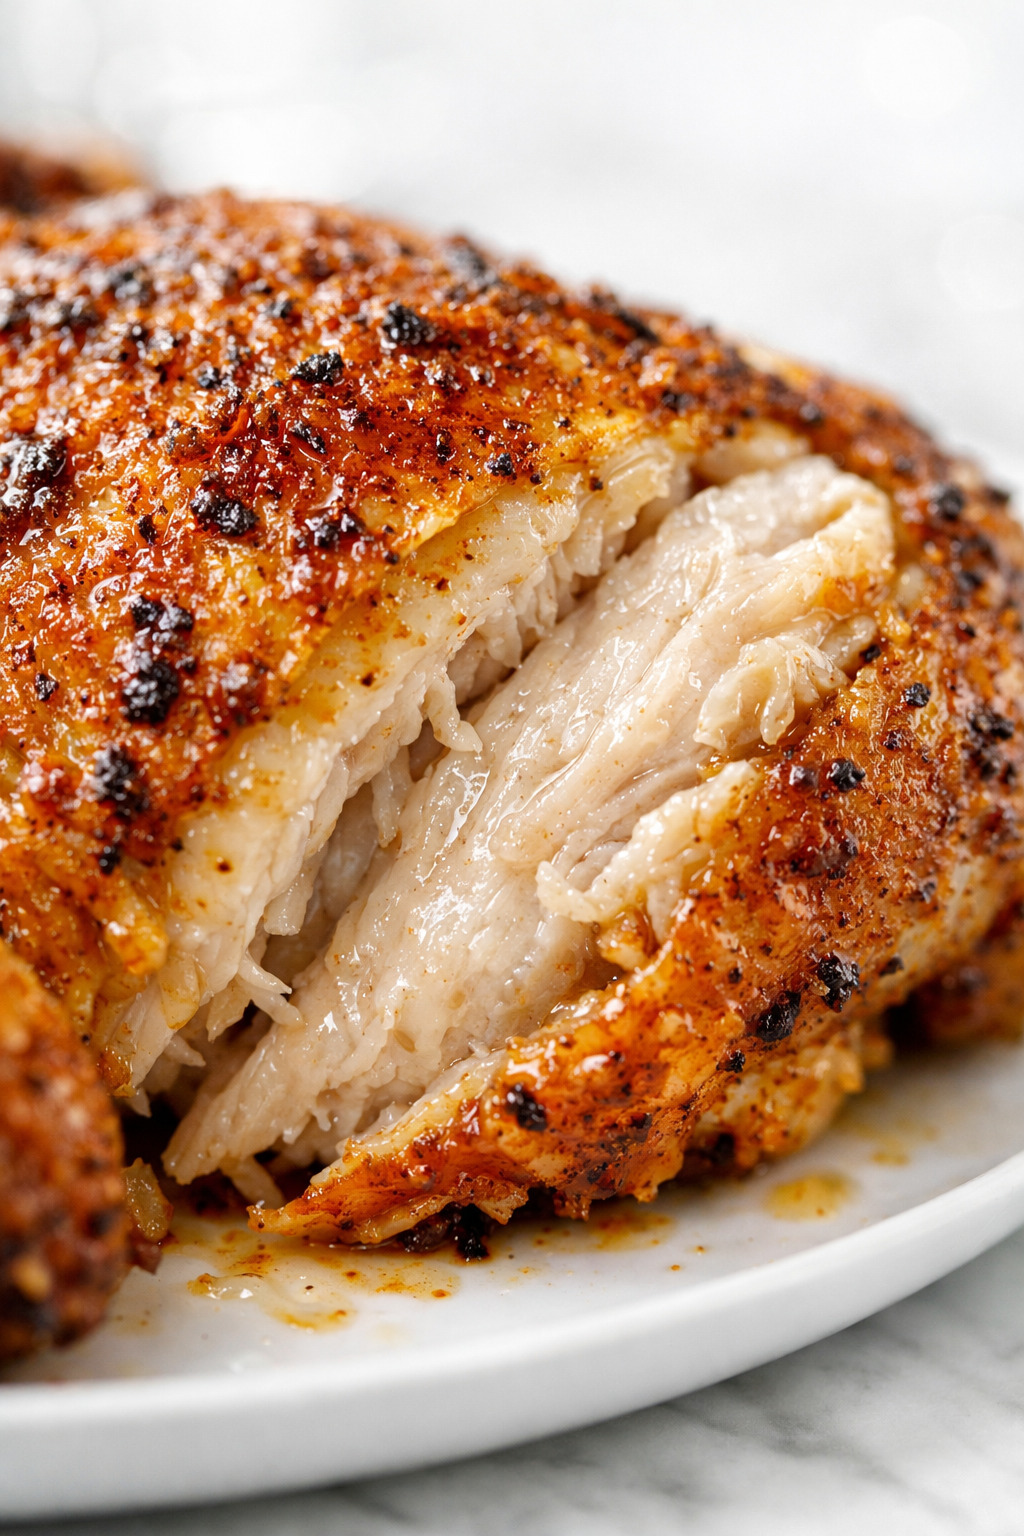
The homemade spice rub creates a savory, slightly smoky crust that pairs perfectly with the tender, juicy meat underneath. Every bite is packed with seasoning from the outside in.

And the texture? Crispy on the outside, melt-in-your-mouth tender on the inside. That’s the magic of the beer can method. The steam from the beer keeps the chicken incredibly moist while the grill heat crisps up the skin.
Not only is it delicious, but it’s also a crowd-pleaser that looks super impressive with almost no effort. Just season, set it on the can, and let the grill do all the work.
Plus, the whole thing comes together with pantry staple spices you probably already have on hand. No fancy ingredients required!
Ingredients You’ll Need
Here’s everything you need to make the perfect beer can chicken.
Whole chicken – A 4 to 5-pound whole chicken is ideal. Make sure to remove the giblets from the cavity and pat it nice and dry with paper towels before seasoning.
Olive oil – Two tablespoons rubbed all over the bird helps the spices stick and promotes that gorgeous golden-brown skin.
Beer – One 12-ounce can of a mild lager like Budweiser, Coors, or Miller Lite works best. You want a mellow flavor that won’t overpower the chicken.
Paprika – Two tablespoons of paprika form the base of the rub and give the chicken that beautiful reddish-golden color.
Kosher salt – One tablespoon for seasoning inside and out.
Black pepper – One tablespoon of freshly ground black pepper adds a nice kick.
Onion powder – One tablespoon that brings a subtle sweetness and depth to the rub.
Garlic powder – Two teaspoons because everything is better with garlic!
Dried thyme – Two teaspoons for an earthy, herby note that complements the smoky paprika beautifully.
Cayenne pepper – Half a teaspoon for a gentle heat. Add more if you like things spicy, or leave it out if you prefer mild.
How to Make Beer Can Chicken
This recipe is a breeze to make with just a few simple steps.
Step 1: Make the spice rub. Combine the paprika, salt, black pepper, onion powder, garlic powder, dried thyme, and cayenne pepper in a small bowl. Mix it all together until well blended.
Step 2: Season the chicken. Pat the chicken completely dry with paper towels. Rub the olive oil all over the entire bird, including under the skin if you can. Then coat generously with the spice mixture, making sure to get into every nook and cranny.
Step 3: Prep the beer can. Open the beer and pour out about half of it. You can drink it if you’d like! Poke a few extra holes in the top of the can with a can opener or knife to help the steam escape during cooking.
Step 4: Set up the chicken. Carefully lower the chicken cavity over the beer can so the chicken sits upright. The two legs and the beer can should form a stable tripod. Tuck the wing tips behind the back.
Step 5: Grill. Preheat your grill to medium heat, around 350 to 375 degrees Fahrenheit. Place the chicken in the center of the grill over indirect heat. Close the lid and cook for about 1 hour and 15 minutes, or until an instant-read thermometer inserted into the thickest part of the thigh reads 165 degrees Fahrenheit.
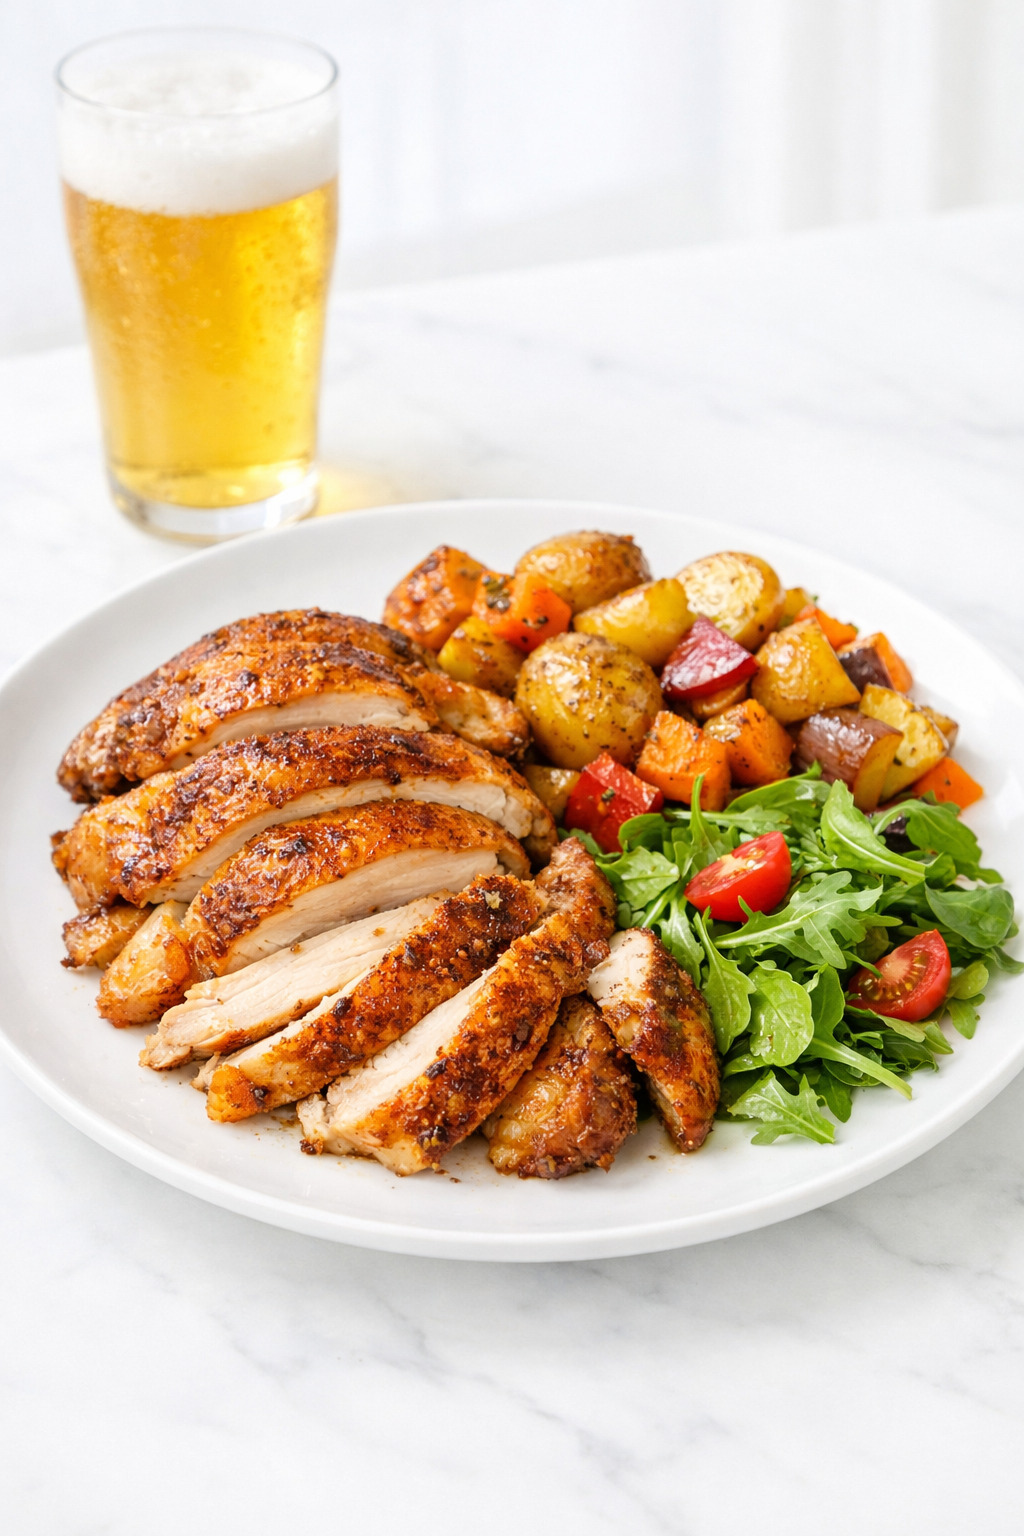
Step 6: Rest and serve. Carefully transfer the chicken and can to a cutting board using tongs and a spatula. Let it rest for 10 minutes loosely covered with foil, then carefully remove the beer can and carve.
Tips for the Best Results
Always pat the chicken dry before seasoning. Removing excess moisture is the number one secret to crispy skin.
Use indirect heat on the grill. Place the chicken in the center with burners only on the sides. Direct heat will burn the bottom of the chicken before the inside cooks through.
Don’t peek! Every time you open the grill lid, you lose heat and add cooking time. Resist the urge to check on it for at least the first hour.
Let the chicken rest for a full 10 minutes before carving. This allows the juices to redistribute throughout the meat so every slice is perfectly moist.
A beer can chicken holder is a great investment if you make this often. It provides extra stability and usually comes with a drip pan to catch all those flavorful juices.
Want to make this in the oven instead? Absolutely! Preheat to 375 degrees Fahrenheit and roast for about 1 hour and 15 minutes, or until the internal temperature reaches 165 degrees Fahrenheit.
Storage
Store leftover beer can chicken in an airtight container in the refrigerator for up to 4 days.
To reheat, place the chicken on a baking sheet and warm it in a 375 degree oven for about 10 minutes. This helps the skin re-crisp nicely. The microwave works in a pinch, but you’ll lose some of that crunch.
You can also freeze leftover chicken for up to 3 months. Wrap individual portions tightly in plastic wrap and then in foil before freezing. Thaw overnight in the fridge before reheating.
Beer Can Chicken
Ingredients
Spice Rub
- 2 tablespoons paprika
- 1 tablespoon kosher salt
- 1 tablespoon black pepper freshly ground
- 1 tablespoon onion powder
- 2 teaspoons garlic powder
- 2 teaspoons dried thyme
- 1/2 teaspoon cayenne pepper adjust to taste
Chicken
- 1 whole chicken 4-5 pounds, giblets removed
- 2 tablespoons olive oil
- 1 12-ounce can of beer mild lager like Budweiser or Coors
Instructions
- Combine the paprika, kosher salt, black pepper, onion powder, garlic powder, dried thyme, and cayenne pepper in a small bowl. Mix until well blended.
- Pat the chicken completely dry with paper towels. Rub olive oil all over the bird, including under the skin where possible.
- Season the chicken generously with the spice rub, making sure to coat all surfaces evenly.
- Open the beer can and pour out about half of it. Poke a few extra holes in the top of the can.
- Carefully lower the chicken cavity over the beer can so it sits upright. The two legs and the beer can should form a stable tripod. Tuck the wing tips behind the back.
- Preheat the grill to medium heat (350-375°F). Place the chicken in the center over indirect heat. Close the lid and grill for about 1 hour and 15 minutes, or until a thermometer inserted into the thickest part of the thigh reads 165°F.
- Carefully transfer the chicken and can to a cutting board. Let it rest for 10 minutes loosely covered with foil, then carefully remove the beer can and carve.
Notes
Nutrition
Final Thoughts
This beer can chicken is hands down one of the best grilling recipes you’ll ever try.
The crispy, seasoned skin and incredibly juicy meat make it a guaranteed crowd-pleaser every single time. Whether you’re grilling for a backyard party or just making dinner for the family, this one never disappoints.
Give it a try this weekend and I promise you won’t be disappointed. It might just become your new go-to chicken recipe!
Leave a Review